
Bring Your Blundstone Boots Back to Life: Shoemaker Restoration Secrets in Steps! 👢✨
Philipe Moreau-LatreilleIn this video, Philippe begins by presenting the restoration project of a pair of Bloodstone boots which requires special attention. It then describes each step of the restoration process in detail:
-
Dismantling: He removes the oxidized rubber sole and works on the foot bed and instep, which is the support structure of the shoe.
-
Surface preparation: After creating a pattern for the footbed using the old pieces to preserve the integrity of the product, he prepares the surfaces for glue adhesion, including cleaning and sanding the surfaces.
-
Gluing: Philippe applies glue to the foot bed and other parts to ensure good adhesion. He emphasizes the importance of chemical cleaning to remove dust and contaminants.
-
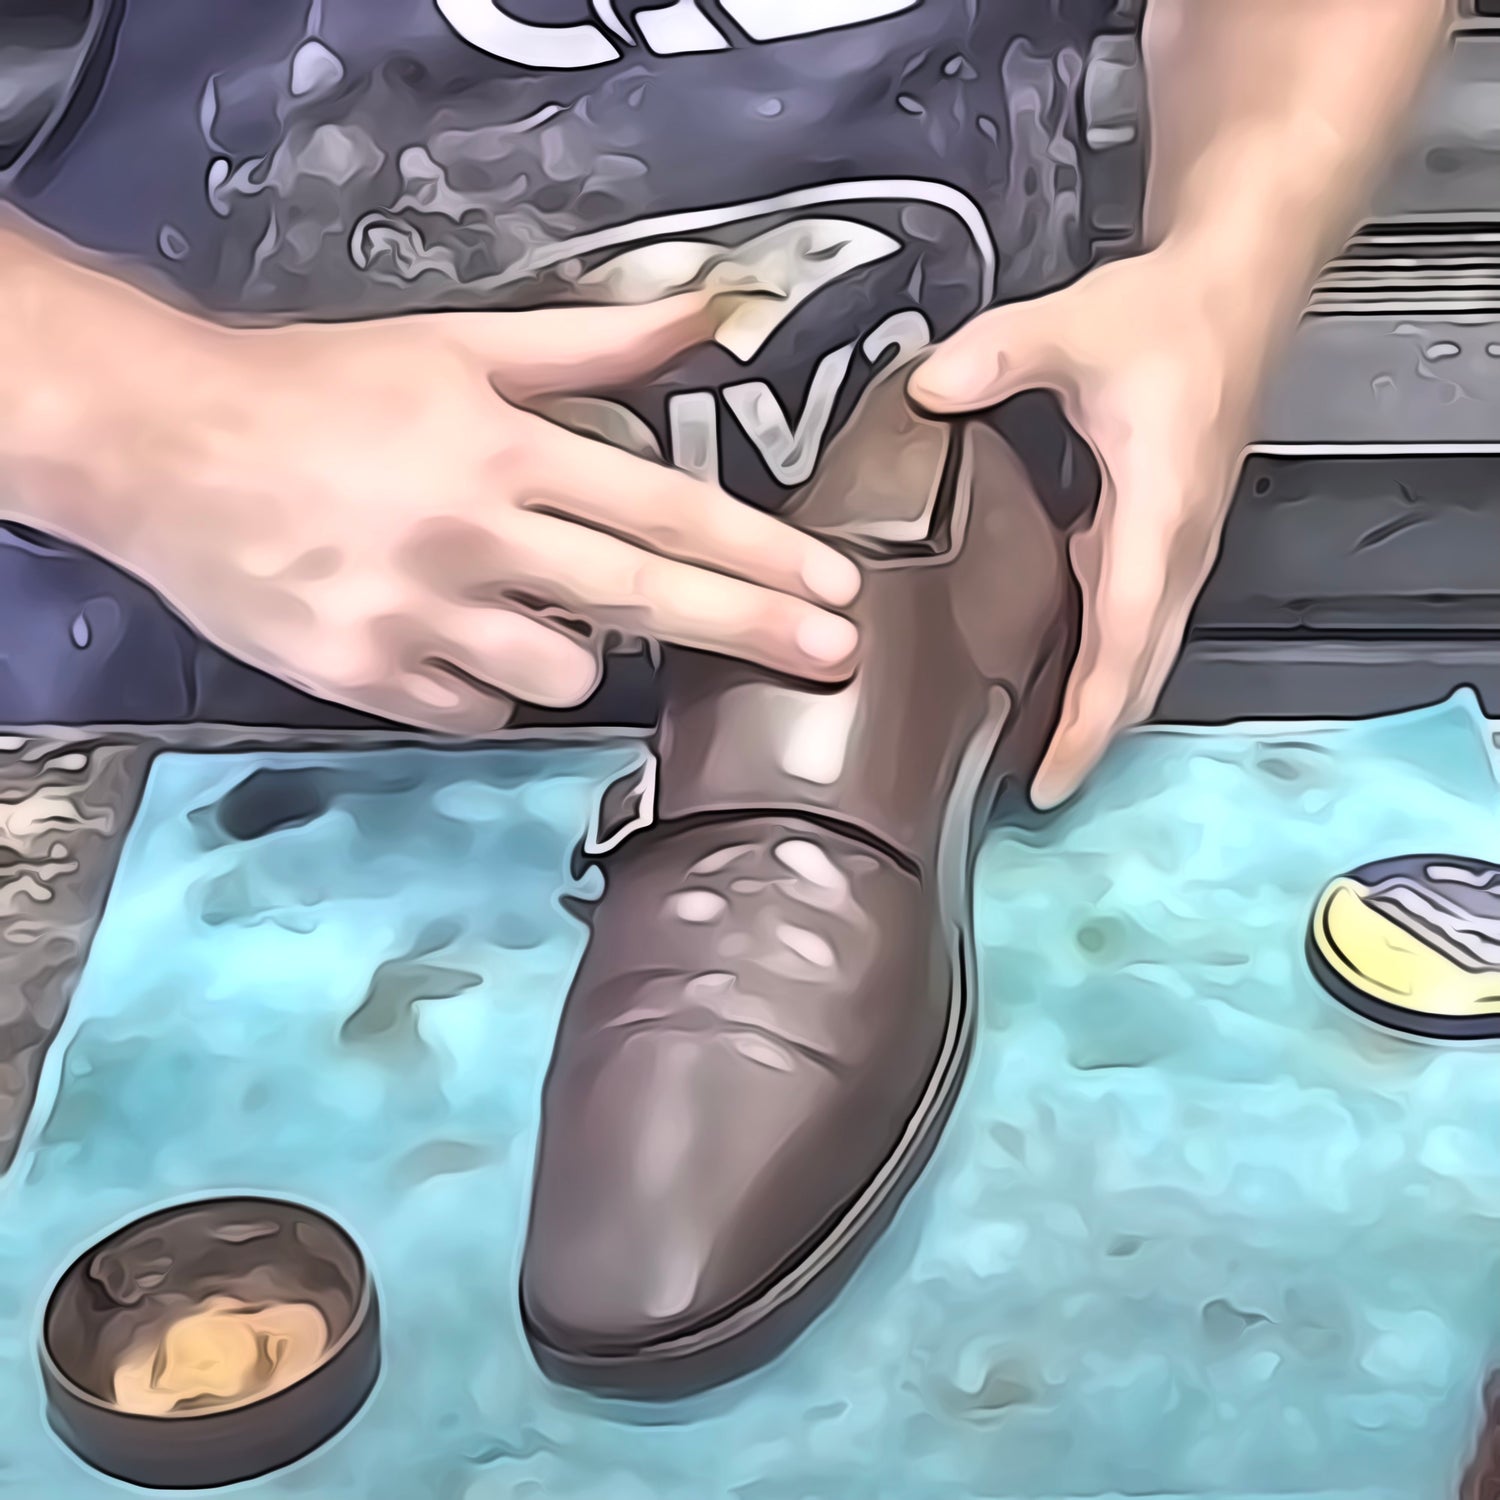
Replacement of elastic panels: Old elastic panels are replaced with new ones, using the old ones as templates to ensure faithful restoration.
-
Sewing and mounting: It highlights the importance of re-tacking the same holes when sewing to avoid further damage to the leather. After sewing, he proceeds to assemble the shoe by installing new components such as the footbed.
-
Midsole and final installation: It uses a pneumatic press to install the Vibram 1136 midsole, then finalizes the sole with a clean outline.
In conclusion, Philippe finalizes the restoration with a refurbishment, cleaning and conditioning the boots, and applying creams and polishes to revive the color and protect the leather.